Add legal texts before launch
- Last verified
- Last verified Aug 13, 2026
Use this article before you send customers to your online shop The customer-facing sales channel where customers browse offers, select tickets, enter checkout details, and complete payment or confirmation.. Legal texts you create in the back office appear as links in the shop footer. Documents marked as required must be accepted when a customer creates an account and again at checkout if they have not already accepted them for their account.
Before you start
- Prepare the final wording (or the URLs) for the documents you need. Typical documents are Terms & Conditions, Privacy policy, Imprint, Cookie policy, and Withdrawal instruction; an Other type is available for anything else.
- Decide per document whether KORONA Event should host the text on its own shop page or link to an existing page on your website.
- Decide which documents customers must actively accept when they create an account or complete checkout.
- Legal requirements depend on your market. Confirm with your legal advisor which documents you need and whether acceptance must be explicit.
Steps
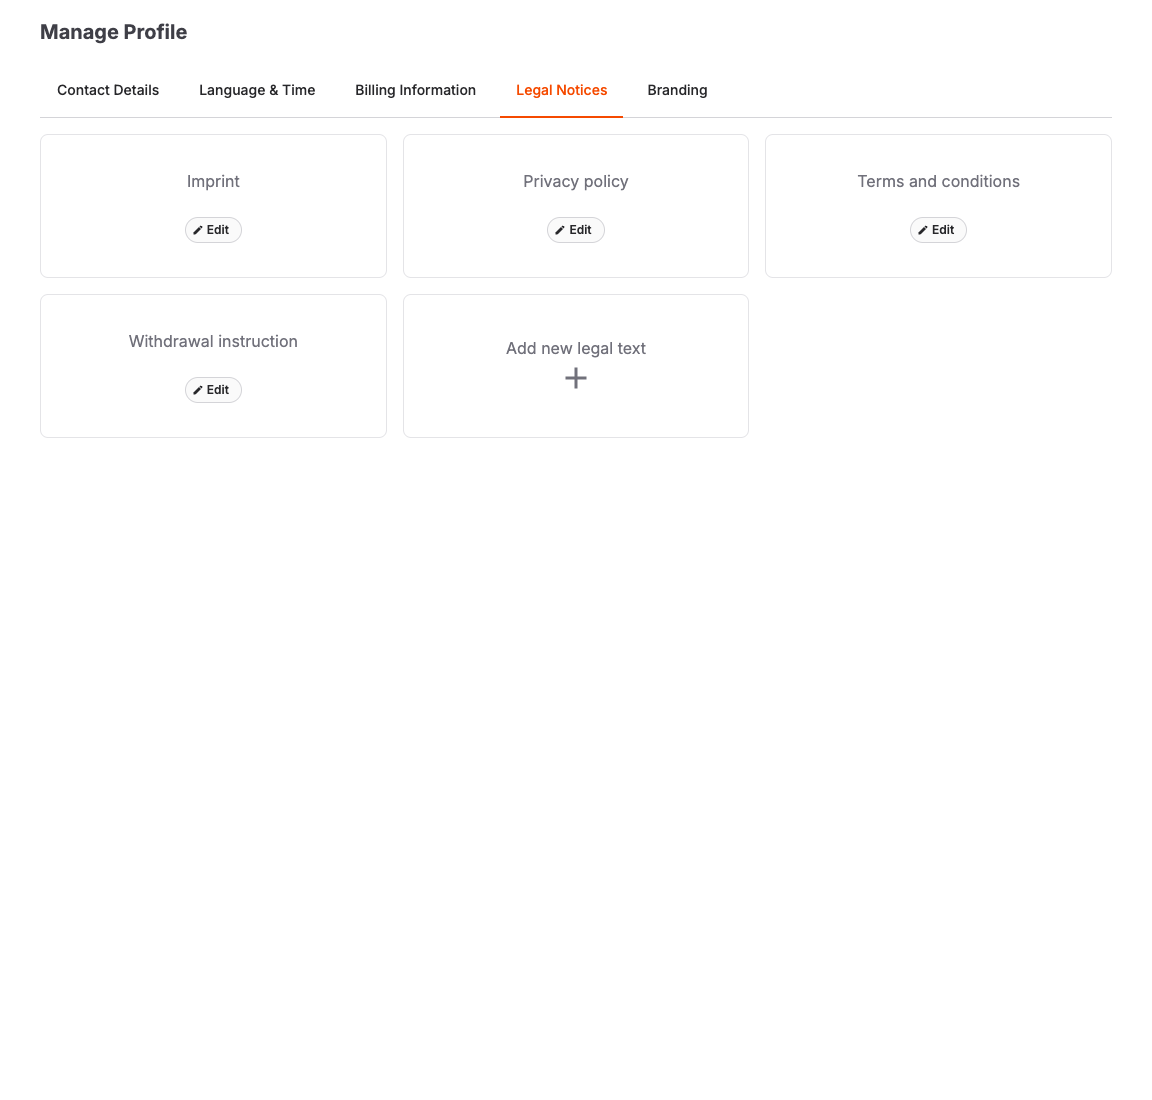
- In the back office, open Admin > Account and select the Legal Notices tab.
- Select Add new legal text.
- Select the Type. For the Accessibility and Withdrawal instruction types, a default text template is pre-filled that you can adapt.
- Enter the Title customers should see and check the URL Slug, which sets the end of the document's shop page URL.
- Under Document destination, select Document page to host the text in the shop, then enter the text under Content. Or select External URL and enter the Document URL of a page on your own site.
- If customers must accept the document when creating an account or completing checkout, turn on Required to accept at checkout and review the Checkbox label — this is the text shown next to the checkbox in registration, the account profile, and checkout.
- Select Save.
If your account has foreign shop languages, the editor also offers per-language fields for the title, slug, content or URL, and checkbox label. Fill these in so customers in each language see the right document.
How the shop shows your legal texts
- The shop footer lists your legal documents under a Legal heading.
- A Withdrawal instruction document is shown separately in the footer under a Right of withdrawal heading. When the shop shows the withdrawal flow, the Withdraw from contract button appears in the same section.
- Documents hosted as a document page open on their own page in the shop; External URL documents open your linked page.
- During Create account, required documents appear under Legal agreements with one checkbox per document.
- On the signed-in Account > Profile page, required documents that still need acceptance appear under Legal agreements. Documents already accepted for their current published version are hidden.
- In checkout, required documents appear under Legal agreements only when the customer has not already accepted them for their account (or for the current order). Customers cannot complete the order until every missing required document is accepted.
When you edit a published legal text and select Save, KORONA Event publishes a new version. For a document with Required to accept at checkout turned on, an earlier acceptance does not cover the revised version. The document appears again in registration, the account profile, or checkout when the customer needs to accept it. Use Archive only when the document should no longer appear in the shop.
Expected result
The shop footer links to every published legal text, each document opens with the intended content or external page, and registration, the account profile, and checkout ask for acceptance of exactly the documents you marked as required — without asking again for documents the customer already accepted on their account.
Troubleshooting
| Problem | What to check |
|---|---|
| A document is missing from the shop footer | Whether the document exists under Legal Notices and has not been archived. |
| The link opens the wrong page | The Document destination setting and the Document URL, which must start with http:// or https://. |
| Registration or checkout does not ask for acceptance | The Required to accept at checkout setting on the document, and whether the customer already accepted it on their account. |
| Customers see the wrong language | The per-language fields on the document and the shop languages configured under Admin > Account > Language & Time. |
| An old document must be taken down | Archive it from the document's edit page; archiving can be undone. |
