Publish your first online shop
Use this article when a shop is ready to move from setup or staff-only access to a customer-facing launch.
Publishing the shop is not one switch. The launch depends on shop access, pages, visible offers, checkout fields, legal documents, payments, customer communication, and staff ownership.
Before you start
Confirm:
- at least one offer is sellable and assigned to the shop's Sales channel
- the shop domain or public URL is ready
- payment setup and legal texts are approved
- confirmation email and ticket templates are approved
- staff know where to find orders, attendees, and payment exceptions
Configure pages and navigation
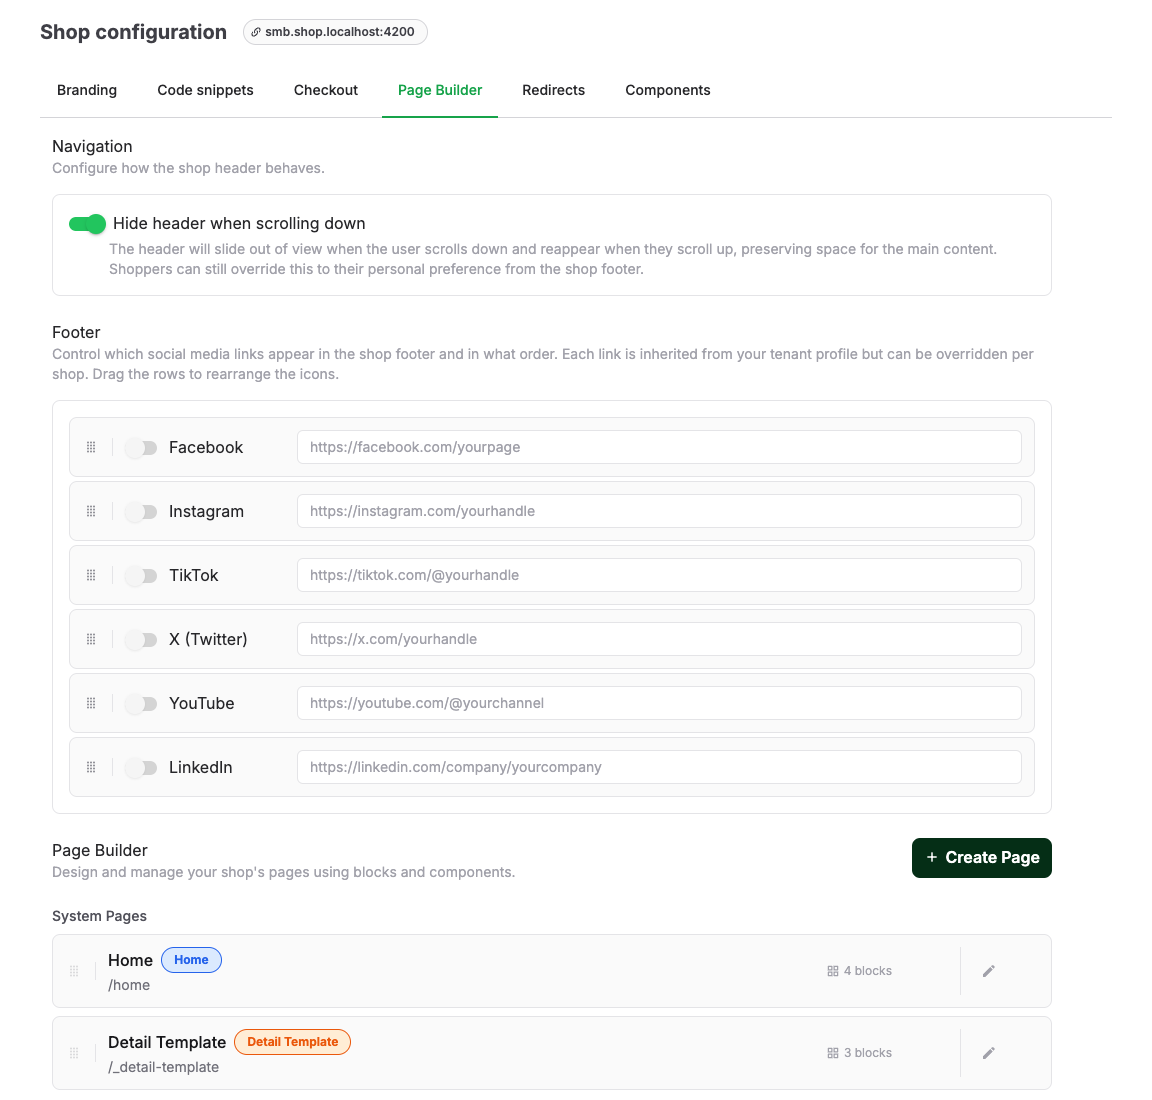
In the back office, open Shops, select the shop, and open Page Builder or Pages.
Check:
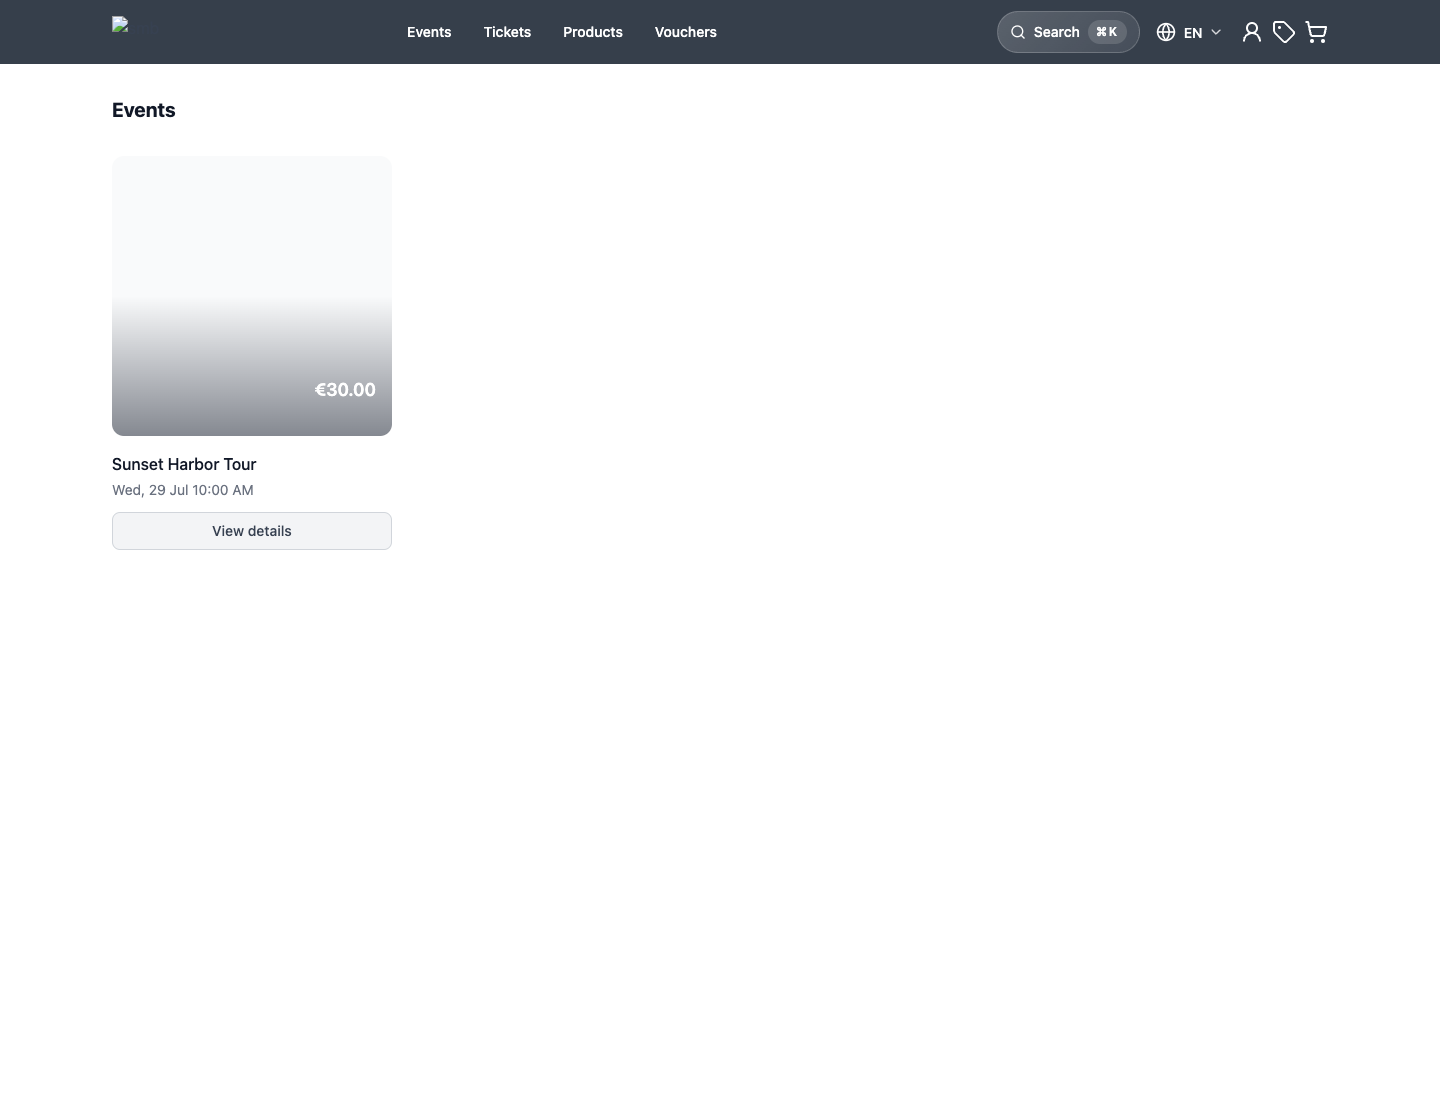
- the home page gives customers a clear path to buy
- important pages are Shown in navigation
- page titles and descriptions are customer-friendly
- offer lists contain the correct events, admissions, products, or vouchers
- filters and categories match how customers browse
Confirm checkout and legal settings
Open Checkout and confirm:
- Default booking flow
- Default payment method
- customer fields set to Automatic, Hidden, Optional, or Required
- legal documents and checkout checkboxes
- withdrawal flow visibility
- analytics mode
- footer links
Open the legal notice area for terms, privacy policy, imprint, withdrawal instructions, and any required accessibility or organizer-specific text.
Make the shop public
- Open Access for the shop.
- Turn off Require staff login unless the shop is intentionally staff-only.
- Publish the intended pages and theme changes.
- Share the configured public shop URL.
Launch checklist
Before sharing the shop URL, verify:
- shop URL and domain are correct
- shop does not require staff login
- offer names, descriptions, images, prices, and availability are correct
- checkout fields and legal checkboxes are clear
- intended live payment methods are configured
- confirmation email and ticket templates are approved
- POS and admissions staff know how to find orders and attendees
- staff know who owns payment, checkout, and customer-communication exceptions
Expected result
The shop has the approved pages, offers, customer fields, legal documents, live payment methods, communication templates, and staff ownership needed for launch.
Troubleshooting
| Problem | What to check |
|---|---|
| Shop asks for staff login | Access and Require staff login. |
| Offer is missing | Offer publishing, the Hide from shop setting, sales channel, price visibility, page builder offer list, and capacity. |
| Checkout blocks customers | Required customer fields, legal checkbox wording, payment provider setup, and checkout policy. |
| Payment method is missing | Provider connection, live/test mode, payment method eligibility, wallet setup, and checkout versus payment-link behavior. |
| Confirmation or ticket is missing | Order state, payment state, ticket generation, email template, and delivery state. |
