Filter events, orders, customers, invoices, and attendees
Use filters when an event An offer with a fixed date, start time, and end time, such as a performance, tour, workshop, or other time-bound activity., order The main sales record containing the customer, selected offers, quantities, prices, payment state, invoices, tickets, and documents., customer, invoice The financial document for an order. Its payment state shows whether payment or refund work is still required., or attendee list is too large to scan manually.
Steps
- Open the relevant list: Events, Orders, Customers, Invoices, or Attendees.
- Select Filter by or the filter button.
- Choose the filter group, such as state, event, payment state, date, customer, tag, or location.
- Select the filter value.
- Close the filter panel or press Escape when the list updates.
- Use Clear to remove filters when you are done.
Filter invoices for operational and finance work
The Invoices list provides filters for the invoice itself and its related order:
| Filter group | Use it to |
|---|---|
| Publishing | Separate Not published draft invoices from Published invoices. |
| Payment statuses | Find invoices that require payment or a refund, or invoices that are already paid or refunded. |
| Order statuses | Include or exclude invoices based on the current order status, including Canceled orders. |
| Created | Limit the list by the date the invoice record was created. |
| Published at | Limit published invoices by their publication date. Draft invoices do not have a publication date. |
| Sales Channels | Limit the list to invoices created through a selected POS or other sales channel. |
| Customer groups | Find invoices for invoice recipients who currently belong to a selected customer group. |
| Products | Find invoices that contain a selected product. |
| Templates | Find invoices containing events created from a selected event template. |
| Admissions | Find invoices that contain a selected admission. |
| Vouchers | Find invoices that contain a voucher from a selected voucher configuration. |
| Tags | Every selected tag must occur on at least one invoiced item. Different selected tags may occur on different invoiced items. |
An invoice remains available when its related order is canceled. Select an Order statuses value when the order's current status matters to the task.
Offer-related filters use the items on the invoice. An item that belongs to the same order but is not included on the invoice does not make the invoice match.
Filter events by bookings, reservations, and capacity
The event list provides three independent filter groups:
| Filter group | Values | What the values mean |
|---|---|---|
| Bookings | Has bookings, No bookings | Includes or excludes events with an active booked order item or an active standalone booked attendee. |
| Reservations | Has reservations, No reservations | Includes or excludes events with an active reserved order item or an active standalone reserved attendee. |
| Capacity | Overbooked, Not overbooked | Compares booked and reserved capacity usage with the event's effective capacity. |
Canceled, expired, and discarded order items and canceled standalone attendees do not count as bookings or reservations. A booked order item counts even when it does not create an attendee record.
Overbooked means that capacity-consuming bookings and reservations are strictly greater than the lower of the event's participant capacity and its available resource capacity. An event exactly at capacity is Not overbooked. Order-backed attendees are not counted again because their capacity is already represented by the order's event reservation.
Filter groups combine with AND. For example, selecting Has bookings and Has reservations returns only events that have both. Selecting both values inside one group does not restrict the list. Event filters also work in the archived event list and can be stored in a saved view.
Filter attendees by price category and product
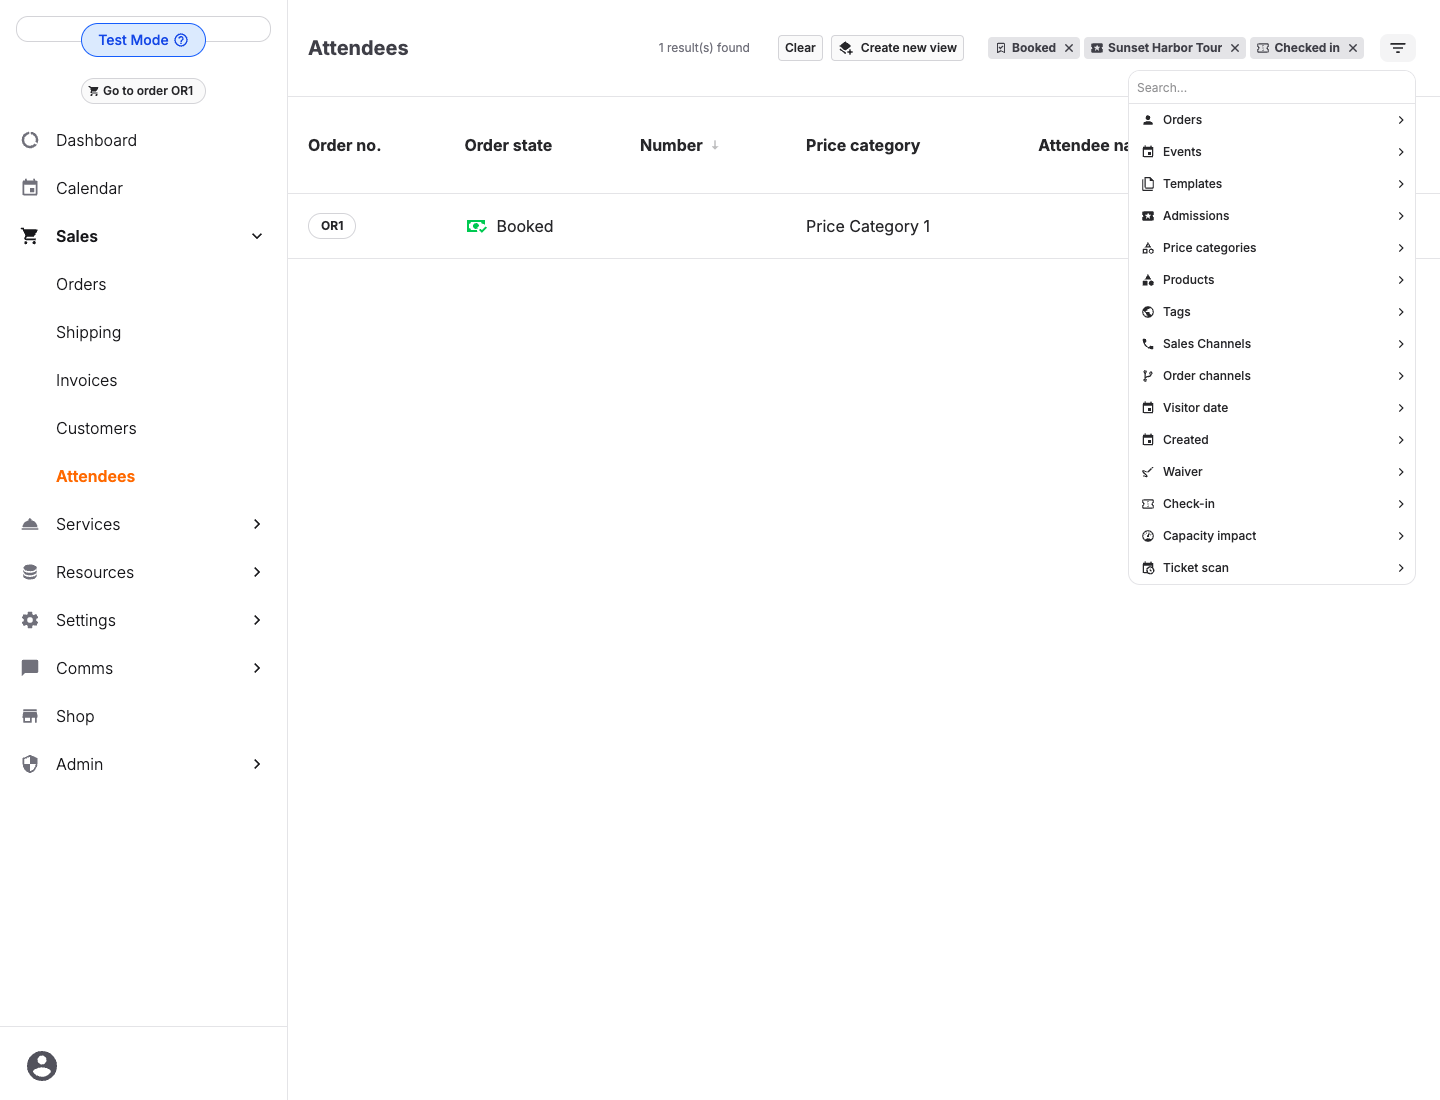
Open Sales > Attendees, then select Price categories or Products in the filter. Select one or more values to limit the list to the ticket types you need.
Multiple values in the same filter group are inclusive: selecting Adult and Child price categories shows attendees in either category. Different filter groups combine with AND: selecting the Adult price category and a Guided Tour product shows only attendees who match both selections.
These filters can be stored in a saved view. They also apply to CSV and Excel attendee exports, so review the active filter chips before exporting personal data.
How offer filters handle changed orders
Offer-based order filters use the order's current line items. If an event, admission, product, or voucher was removed from an order or replaced with another offer, the removed line no longer makes the order match that offer or its tag, date, time, or location. The change remains available in the order's history.
During the standard cancellation workflow, KORONA Event removes the order's active line items. The canceled order then stops matching offer, tag, date, time, and location filters. A canceled order matches these filters only in the exceptional case that it retains an active line item. Use an order-state filter when you need to include or exclude canceled orders.
Useful filter combinations
| Job | Filters to start with |
|---|---|
| Find unpaid bookings | Order state, payment state, date range. |
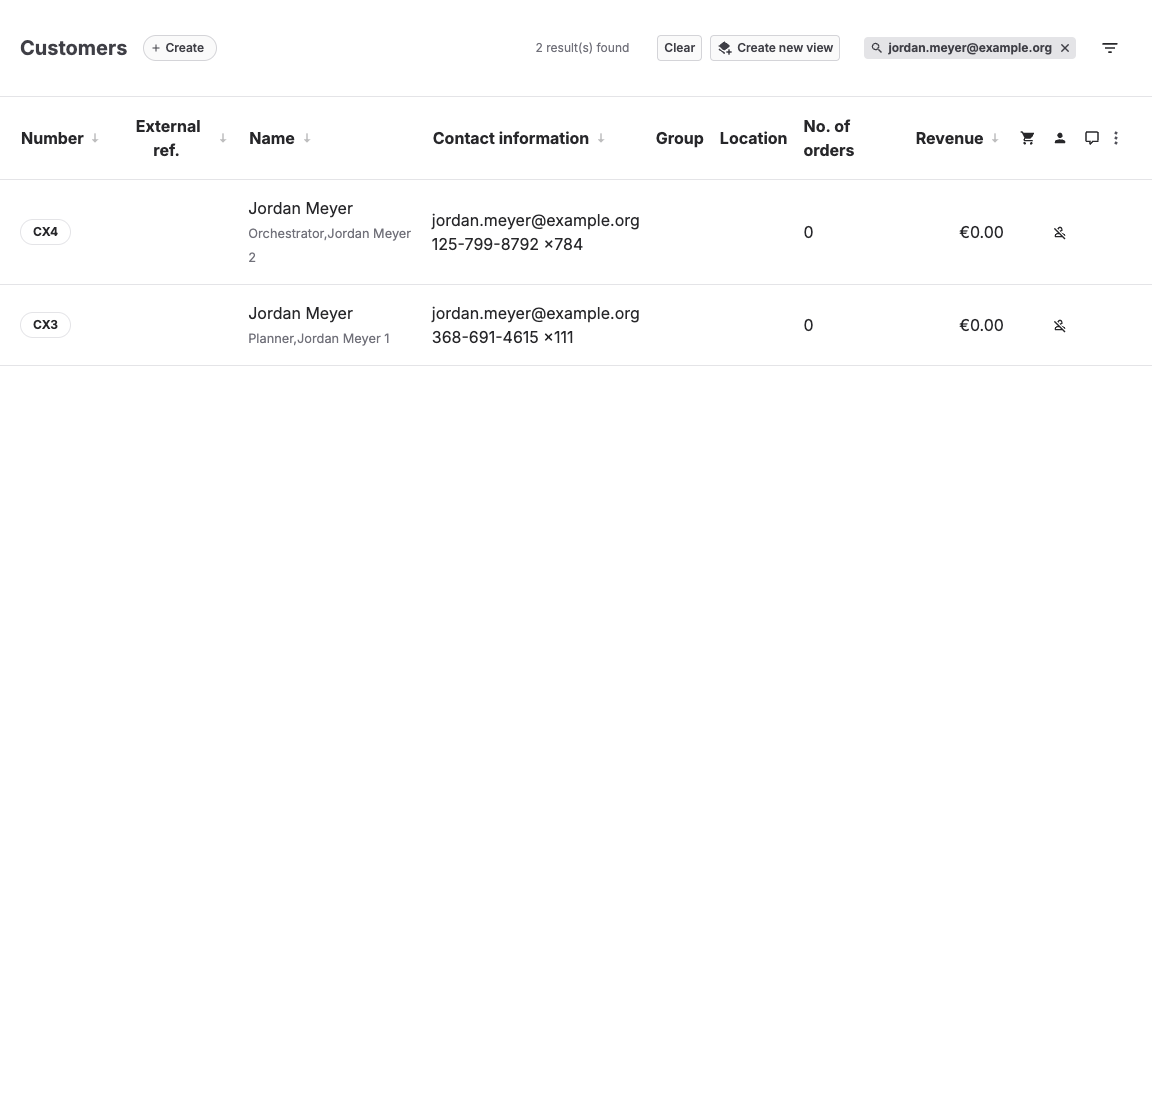
| Find duplicate customers | Name or email text search, customer group, external reference where used. |
| Finance review | Invoice payment state, date range, location or POS. |
| Entrance issue | Event, attendee state, ticket number, customer name. |
| Prepare a ticket list | Event or date, price category, product, and attendee state. |
| Find capacity problems | Event capacity: Overbooked; optionally add date, location, or resource. |
Saved-view notification emails
Email notifications are available for saved views on the Orders and Invoices lists. Use them when a back-office user needs to know that an order or invoice has been created with certain characteristics, or that an existing record has entered a watched state.
To enable notifications:
- Filter the Orders or Invoices list to the records you want to watch. For invoices, this can include an invoice payment state such as Requires payment, Paid, Requires refund, or Refunded.
- Select Create new view, or edit an existing saved view.
- Under Email notifications, select Immediately.
- Save the view.
KORONA Event emails the subscribed back-office user when an order or invoice starts matching the saved view. This includes a newly created matching record and an existing record that changes into a matching state. A record that already matched when notifications were enabled is used as the starting point and does not produce a historical email. If a record stops matching and later enters the saved view again, it produces another notification.
The email names the saved view, identifies the order or invoice, and includes a link to open it in the back office. Invoice emails also show the current payment state. The invoice PDF is not attached; the link keeps access behind the user's back-office sign-in and opens the current record rather than a copy stored in an email.
The Matched at time in the email uses the timezone configured for the account, including daylight-saving time changes.
Expected result
The list shows only records that match the selected filters, and the active filters are visible enough for staff to understand why records are included.
Troubleshooting
| Problem | What to check |
|---|---|
| Expected record is missing | Clear filters, expand date range, search by exact number, and check archived or canceled views. |
| Too many records remain | Add a date, state, event, or customer filter. |
| Filter seems stuck | Select Clear, reload the list, or remove saved URL filters. |
