Sell personalized tickets with the holder's name and photo
- Availability
- Beta
Use this when each ticket must belong to a named person — for example season tickets, annual passes, or events with ID checks at the entrance. You ask for every ticket holder's first name, last name, and, if needed, a photo. KORONA Event then adds them to the ticket PDF, the wallet pass, and the ticket in KORONA.entry.
How personalization works
There is no separate "personalized" switch on a product or price. A ticket is personalized when its offer asks a Per attendee form section that contains questions with the answer types First name, Last name, and ID Photo. These three answer types tell KORONA Event that the answer is the ticket holder's identity, not just extra information.
Your account has one question for each of these answer types. Create them once and reuse them in every form section that needs them.
Before you start
Decide:
- which offers sell personalized tickets
- whether you need a photo, or only the name
- whether customers must personalize before paying, or may pay first and personalize afterwards
- whether you print physical cards; see Customize ticket PDF content for card layouts
You need permission to manage questions and form sections and to edit offers.
Create the name and photo questions
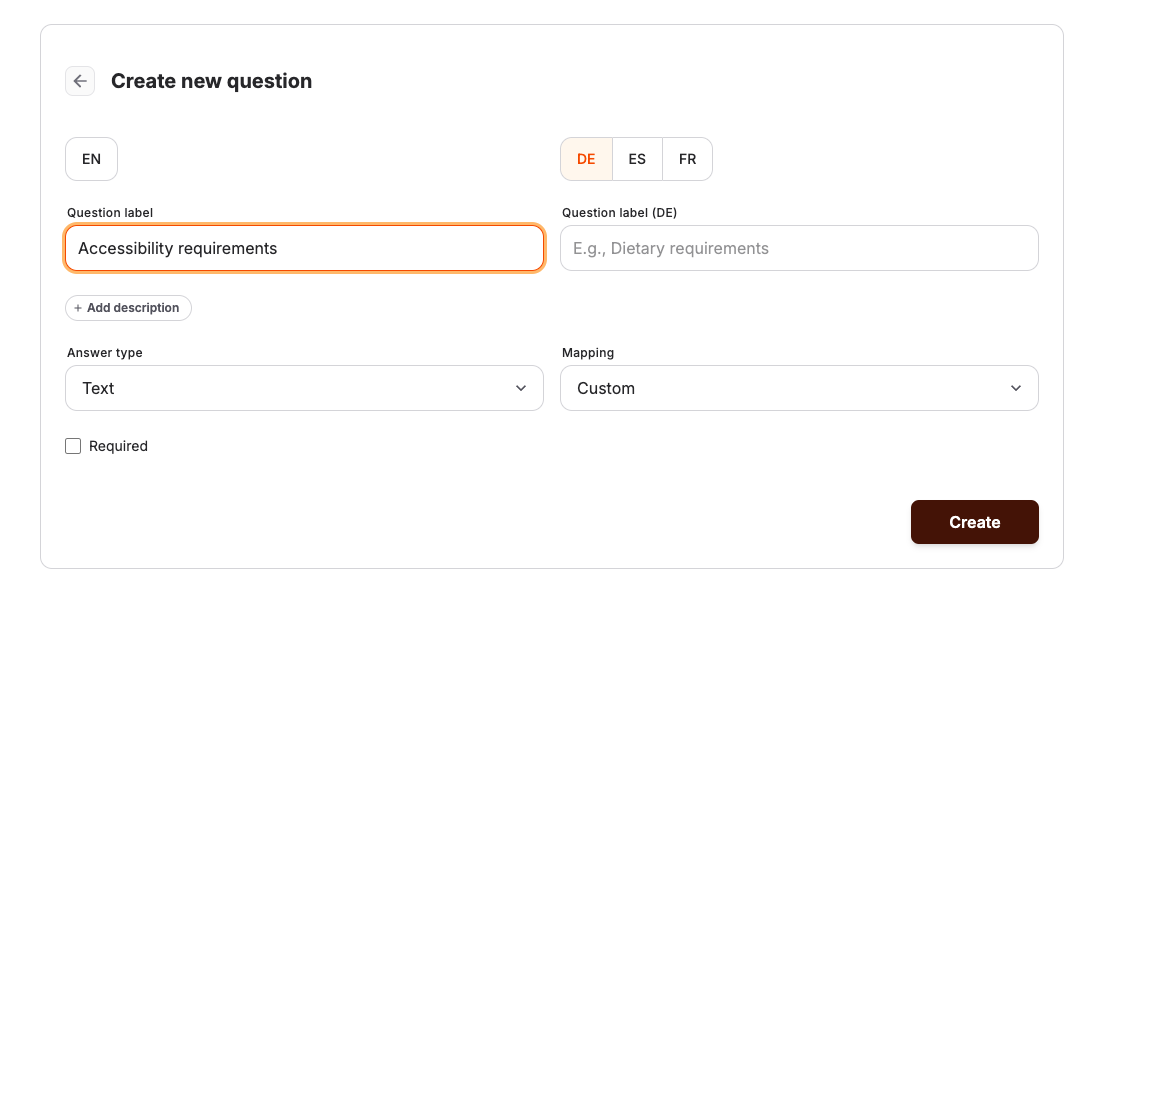
- In the back office, open Settings > Questions and select the create action. The page title is Create new question.
- Enter the Question label customers see, for example "First name of the ticket holder".
- Select the Answer type First name.
- Turn on Required.
- Save the question.
- Repeat for Last name.
- If you need a photo, create a third question with the answer type ID Photo. Under Input description (optional), tell customers what kind of photo you expect, for example "A recent passport-style photo showing your face".
If a question with one of these answer types already exists, reuse it. Only one active question per account can use each of them.
Ask the questions for each ticket
- Open Settings > Form sections and create a section, for example "Ticket holder".
- Select the Input scope Per attendee. Name and photo questions in a Per booking or Per contact section do not personalize tickets.
- If the form shows Required by stage, choose when customers must answer:
- Before payment — customers enter every ticket holder before they can pay. Use this when the tickets must be personalized as soon as they are issued.
- Before fulfillment — customers can pay first and enter the details afterwards. Tickets are not issued until every required answer is complete.
Without Required by stage, required answers must be given before payment.
- Under Manage questions, add the First name, Last name, and, if needed, ID Photo questions.
- Save the form section.
- Open the offer under Services — an event, event template, or admission — and select the Data collection tab.
- Select Assign form section, choose the section, and save.
An event uses the form sections of its event template, so assigning the section to the template personalizes every event created from it.
What customers see
In the online shop, customers enter the details on one page per ticket after adding tickets to the cart. The cart shows which ticket holders are complete and offers Add details for the rest. Before customers can confirm the order, Complete Required Information lists any missing answers.
With Before fulfillment, customers who have not entered every ticket holder see Complete Your Details after payment. There they can also use Share with your group to send a link so each person enters their own details. The shared link is valid for a limited time.
For the photo, customers upload an image file of up to 10 MB, such as JPG, PNG, or WebP. PDF files are not accepted for ID Photo. The shop does not crop or edit the image, so use the question's description to ask for a suitable photo.
The point of sale (POS) does not ask these questions during a sale. To personalize a ticket sold at the POS, add the details in the back office: open the order, select Attendees, and use Update data collection. The details are saved in the back office and sent to the ticket in KORONA.entry. For tickets already issued, see the document limitations in the correction steps below.
Where the name and photo appear
| Where | What is shown |
|---|---|
| Sales > Attendees | Attendee name shows the ticket holder's first and last name. The purchaser appears separately under Customer. |
| Attendee detail | Additional information > Participant Information shows every answer, including the uploaded photo. |
| Ticket PDF | The placeholders Ticket holder first name, Ticket holder last name, and Ticket holder full name print the name. To print the photo, add an Image box that uses Ticket holder ID photo URL. If a name answer is missing, the purchaser's name is printed instead. The photo has no replacement. |
| Physical card | The holder's first name, last name, and, for photo cards, the photo are required. The purchaser's name is never used. |
| Apple Wallet pass | The Plain layout shows the holder's photo. To show the name, add a field that uses a ticket holder placeholder. |
| Google Wallet pass | The ticket holder's full name is shown by default. Google Wallet passes do not show the photo. |
| KORONA.entry | The ticket carries the holder's first and last name and the photo. |
| POS agenda | Personalization & custom fields on the attendee shows the answers read-only. |
To hide a PDF photo box when the holder has no photo, use Show only when placeholder has a value on that box. For name placeholders, this setting does not detect missing holder answers: the purchaser's name can supply the value instead. Make the name questions Required if tickets sold online must show the holder's own name.
For how names and photos reach KORONA.entry and when they are updated, see Connect KORONA.entry.
Correct a ticket holder's details
- Open Sales > Attendees and select the attendee.
- Select Additional information.
- Under Participant Information, select Edit response, correct the name or replace the photo, and save.
When the ticket is already in KORONA.entry, the changed name and photo are sent to the KORONA.entry ticket.
Previously issued ticket PDFs are not replaced by editing these answers. Downloading or resending the order documents can reuse the existing PDF, so resending is not a way to apply the correction to that document. If a customer needs a corrected PDF or Wallet pass, contact KORONA Event support before sending a replacement. Do not assume that an existing Wallet pass reflects the correction.
Troubleshooting
| Problem | What to check |
|---|---|
| The ticket shows the purchaser's name | The attendee has no First name or Last name answer. Add the answers on the attendee. For an already issued PDF or Wallet pass, follow the correction steps above. Make both questions Required so tickets sold online are not issued without them. |
| Customers are asked for one name for the whole order | The form section's Input scope is Per attendee, not Per booking. |
| A name question does not personalize the ticket | The question uses the answer type First name or Last name, not Text. |
| You cannot create a second First name question | Your account already has one. Reuse the existing question in the form section. |
| The photo upload is rejected | The file is an image, not a PDF, and is no larger than 10 MB. |
| Tickets are not issued after payment | The form section uses Before fulfillment and at least one ticket holder is incomplete. Ask the customer to complete Complete Your Details, or enter the details in the back office. |
