Add a custom domain
- Last verified
- Last verified Jul 27, 2026
Use this when KORONA Event account services, POS, or an online shop should open at a branded address such as tickets.example.org.
Setting up the domain has three parts: your DNS administrator creates a CNAME record, an account admin assigns the domain to Account services, Point of sale, or the intended Online shop:, and KORONA Event activates its secure certificate.
Before you start
Before changing DNS, confirm:
- the exact subdomain you want to use, such as
tickets.example.org - who can edit the DNS records for
example.org - which KORONA Event surface the domain should open
- the matching internal or default domain to use as the CNAME target
- an account role with permission to manage domains
- who will contact KORONA Event to request activation
Choose what the domain opens
In the back office, open Admin > Domains. Match the intended Used for choice to the corresponding Internal row, then copy that row's Domain name as the CNAME target.
| Used for choice | What the custom domain opens | CNAME target |
|---|---|---|
| Account services | The account's backoffice services. | The Internal row marked Account services. |
| Point of sale | The account's POS. | The Internal row marked Point of sale. |
| Online shop: _name_ | The named online shop. | The Internal row marked Online shop: with the same shop name. |
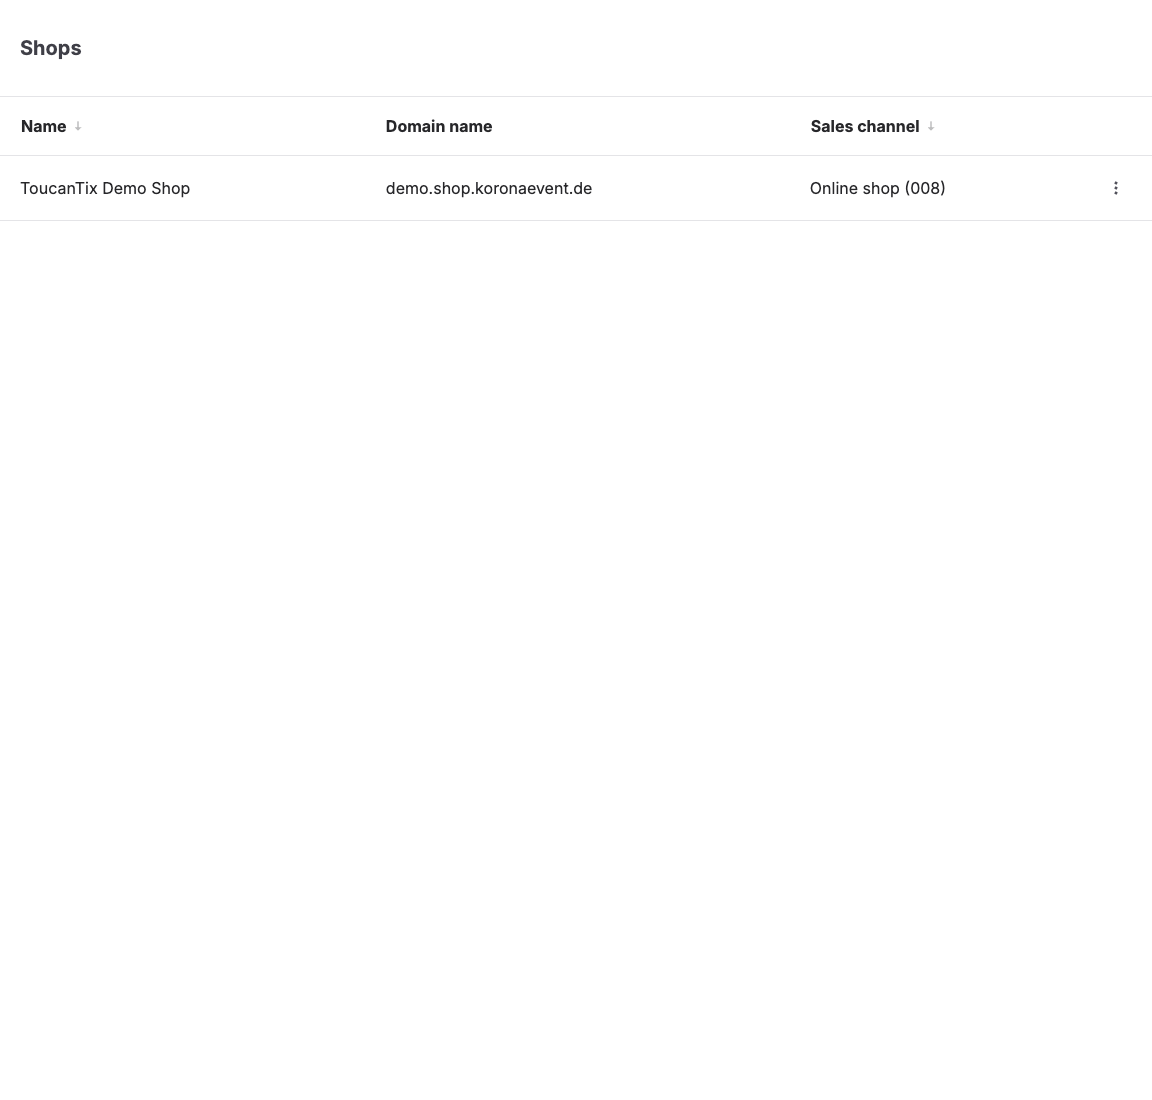
Internal rows are managed by KORONA Event and are read-only. For an online shop, you can also find the same default target under Shops in the Domain name column.
Create the DNS record
Ask the DNS administrator to add this record at the provider that manages your domain:
| DNS field | Value |
|---|---|
| Type | CNAME |
| Name / Host | The branded subdomain. A provider may expect tickets or the full tickets.example.org. |
| Target | The matching internal or default Domain name, without https:// or a path. |
| TTL | Use the provider's default value unless your DNS administrator has a reason to change it. |
For example, if the current shop domain is example.shop.koronaevent.de and the new address is tickets.example.org, the record points:
tickets.example.org CNAME example.shop.koronaevent.deAssign the domain
- In the back office, open Admin > Domains.
- Select Create.
- Enter the branded host name in Domain name, without
https://, a port, or a path. - Under Used for, select Account services, Point of sale, or Online shop: followed by the shop name, according to the surface the domain should open.
- Select Create domain.
The domain appears as Custom in the list. KORONA Event system domains also appear in this list for reference. They are marked Internal and cannot be edited or deleted.
Request HTTPS activation from KORONA Event
Wait until the CNAME resolves, then contact your KORONA Event representative or support team. Include:
- your account name and the selected Used for value, including the shop name when applicable
- the new custom domain
- the matching internal or default Domain name used as the CNAME target
- confirmation that the custom domain is assigned to the intended purpose under Admin > Domains
- confirmation that the CNAME record has been created
- the intended launch date
KORONA Event provisions the secure HTTPS certificate. DNS propagation depends on the DNS provider, and the certificate can take up to 24 hours after the record has propagated. Do not publish the new address until KORONA Event confirms activation and the checks below pass.
Test before launch
- Open
https://followed by the custom domain in a private browser window. - Confirm that the page opens without a browser certificate warning.
- Complete the checks for the selected Used for value:
| Used for choice | Checks |
|---|---|
| Account services | Confirm that the intended backoffice or account service opens. |
| Point of sale | Confirm that the intended POS opens. |
| Online shop: _name_ | Confirm that the named shop opens. Browse a product or event, add an item to the cart, complete a test checkout, and test enabled wallets. Open a default-shop-domain link and confirm that it redirects to the same shop path. |
- Update your website, emails, QR codes, and campaigns only after the relevant checks pass.
Expected result
The custom domain securely opens the Account services, Point of sale, or Online shop: destination selected under Used for. For an online shop, it becomes the preferred customer-facing address; default-domain links redirect to the corresponding custom-domain path, and checkout and enabled payment methods continue to work.
Troubleshooting
| Problem | What to check |
|---|---|
| Custom domain does not open | The CNAME name, whether its target matches the Internal row for the selected purpose, DNS propagation, and whether KORONA Event activated it. |
| Custom domain opens the wrong surface | The Used for value under Admin > Domains. Edit the custom domain and select the intended account service, POS, or online shop. |
| Browser shows a certificate warning | Whether activation is complete. Allow up to 24 hours for certificate provisioning after the DNS record has propagated. |
| Default shop domain does not redirect | For Online shop: assignments, whether the custom domain is assigned to the intended shop and whether the link uses that shop's default domain. |
| Apple Pay or Google Pay is missing or fails | For Online shop: assignments, payment-domain verification and whether the wallet is enabled for the account, browser, and device. |
